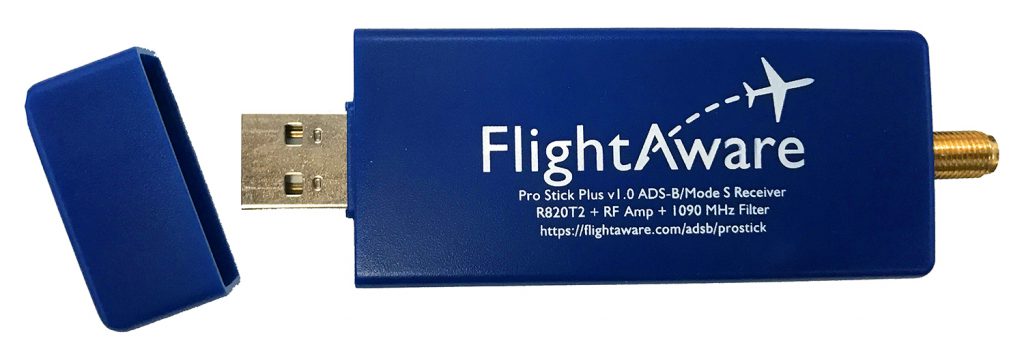
Today I finally unboxed the FlightAware Pro Stick Plus Flight Tracker I had purchased last month and it definitely doesn’t disappoint!
I followed the guides that FlightAware has to setup the Pro Stick Plus on a Raspberry Pi. The instructions were easy to follow along with and only took around 15-30 minutes to complete.
The best thing about the process for me was the FlightAware has developed an image for the RPi which you can use Bletcher to format the RPi SD Card for this purpose. The only thing that was left to do was to configure the WiFi Settings in their configuration file on the boot partition of the SD Card.
I had also purchased a 1090MHz Antenna to test the flight tracker out. Just a cheap one from eBay did the trick.
After installation, without around 5 minutes I started to see data feeding into the website and could also click on the links to see the aircraft information on FlightAware’s site.
In order to make the most out of this setup, I will need to fix an antenna to the roof so that it has better line-of-sight to the sky, which will ultimately increase the performance of the device.
Anyway, if you wish to take a
More information in regards to the setup can be found below…
Pro Stick Plus Features
- Higher Performance for ADS-B and MLAT
- Increases range 10-20% over Pro Stick when filtering is beneficial
- A 1090 MHz bandpass filter (whether built-in or a separate external part) is generally recommended for users in urban environments or with known high power radio transmitters nearby such as cell phone towers. Filtering is generally not recommended for users in rural environments. Filtering benefits may vary and are dependent on the installation location.
- Adds Built-in 1090 MHz filter with R820T2 SDR and RF Amplifier (USB powered)
- Native SMA connector yields reduced loss due to antenna cabling/adapters
- Increases range 10-20% over Pro Stick when filtering is beneficial
- Easier to Setup
- SMA F connector for easy connectivity to high-performance antenna
- No MCX adapters required
- No external amplifier required
- Less Expensive
- Over 40% cheaper than a Pro Stick and FlightAware external filter
- Lower shipping costs due to no unnecessary parts (e.g., remote control)
Pro Stick Plus Specifications
- Chip: R820T2
- Amplifier: 19dB with 0.4dB noise figure and OIP3 +39dB
- TCXO: 0.5 ppm
- Filter: 1,075 MHz to 1,105 MHz pass band with insertion loss of 2.3 dB; 30 dB attenuation on other frequencies
- Power Draw: 300 mA
- Weight: 17 g / 0.6 oz
- Dimensions: 95 mm x 32 mm x 13 mm
- Antenna Port: SMA female (requires SMA antenna cable and optionally N-male adapter for large antenna)
- Range: Over 300 nm/550 km depending on installation quality
- Performance: 10-20% more Mode S messages in installations where filtering is beneficial
- Computer: Raspberry Pi 3 running PiAware recommended
Link to the Software and Hardware Required;
Hardware: https://flightaware.com/adsb/prostick/
Software: https://flightaware.com/adsb/piaware/
Setup Instructions: https://flightaware.com/adsb/piaware/install

Comments: